How to set up your Roku Streaming Stick 4K
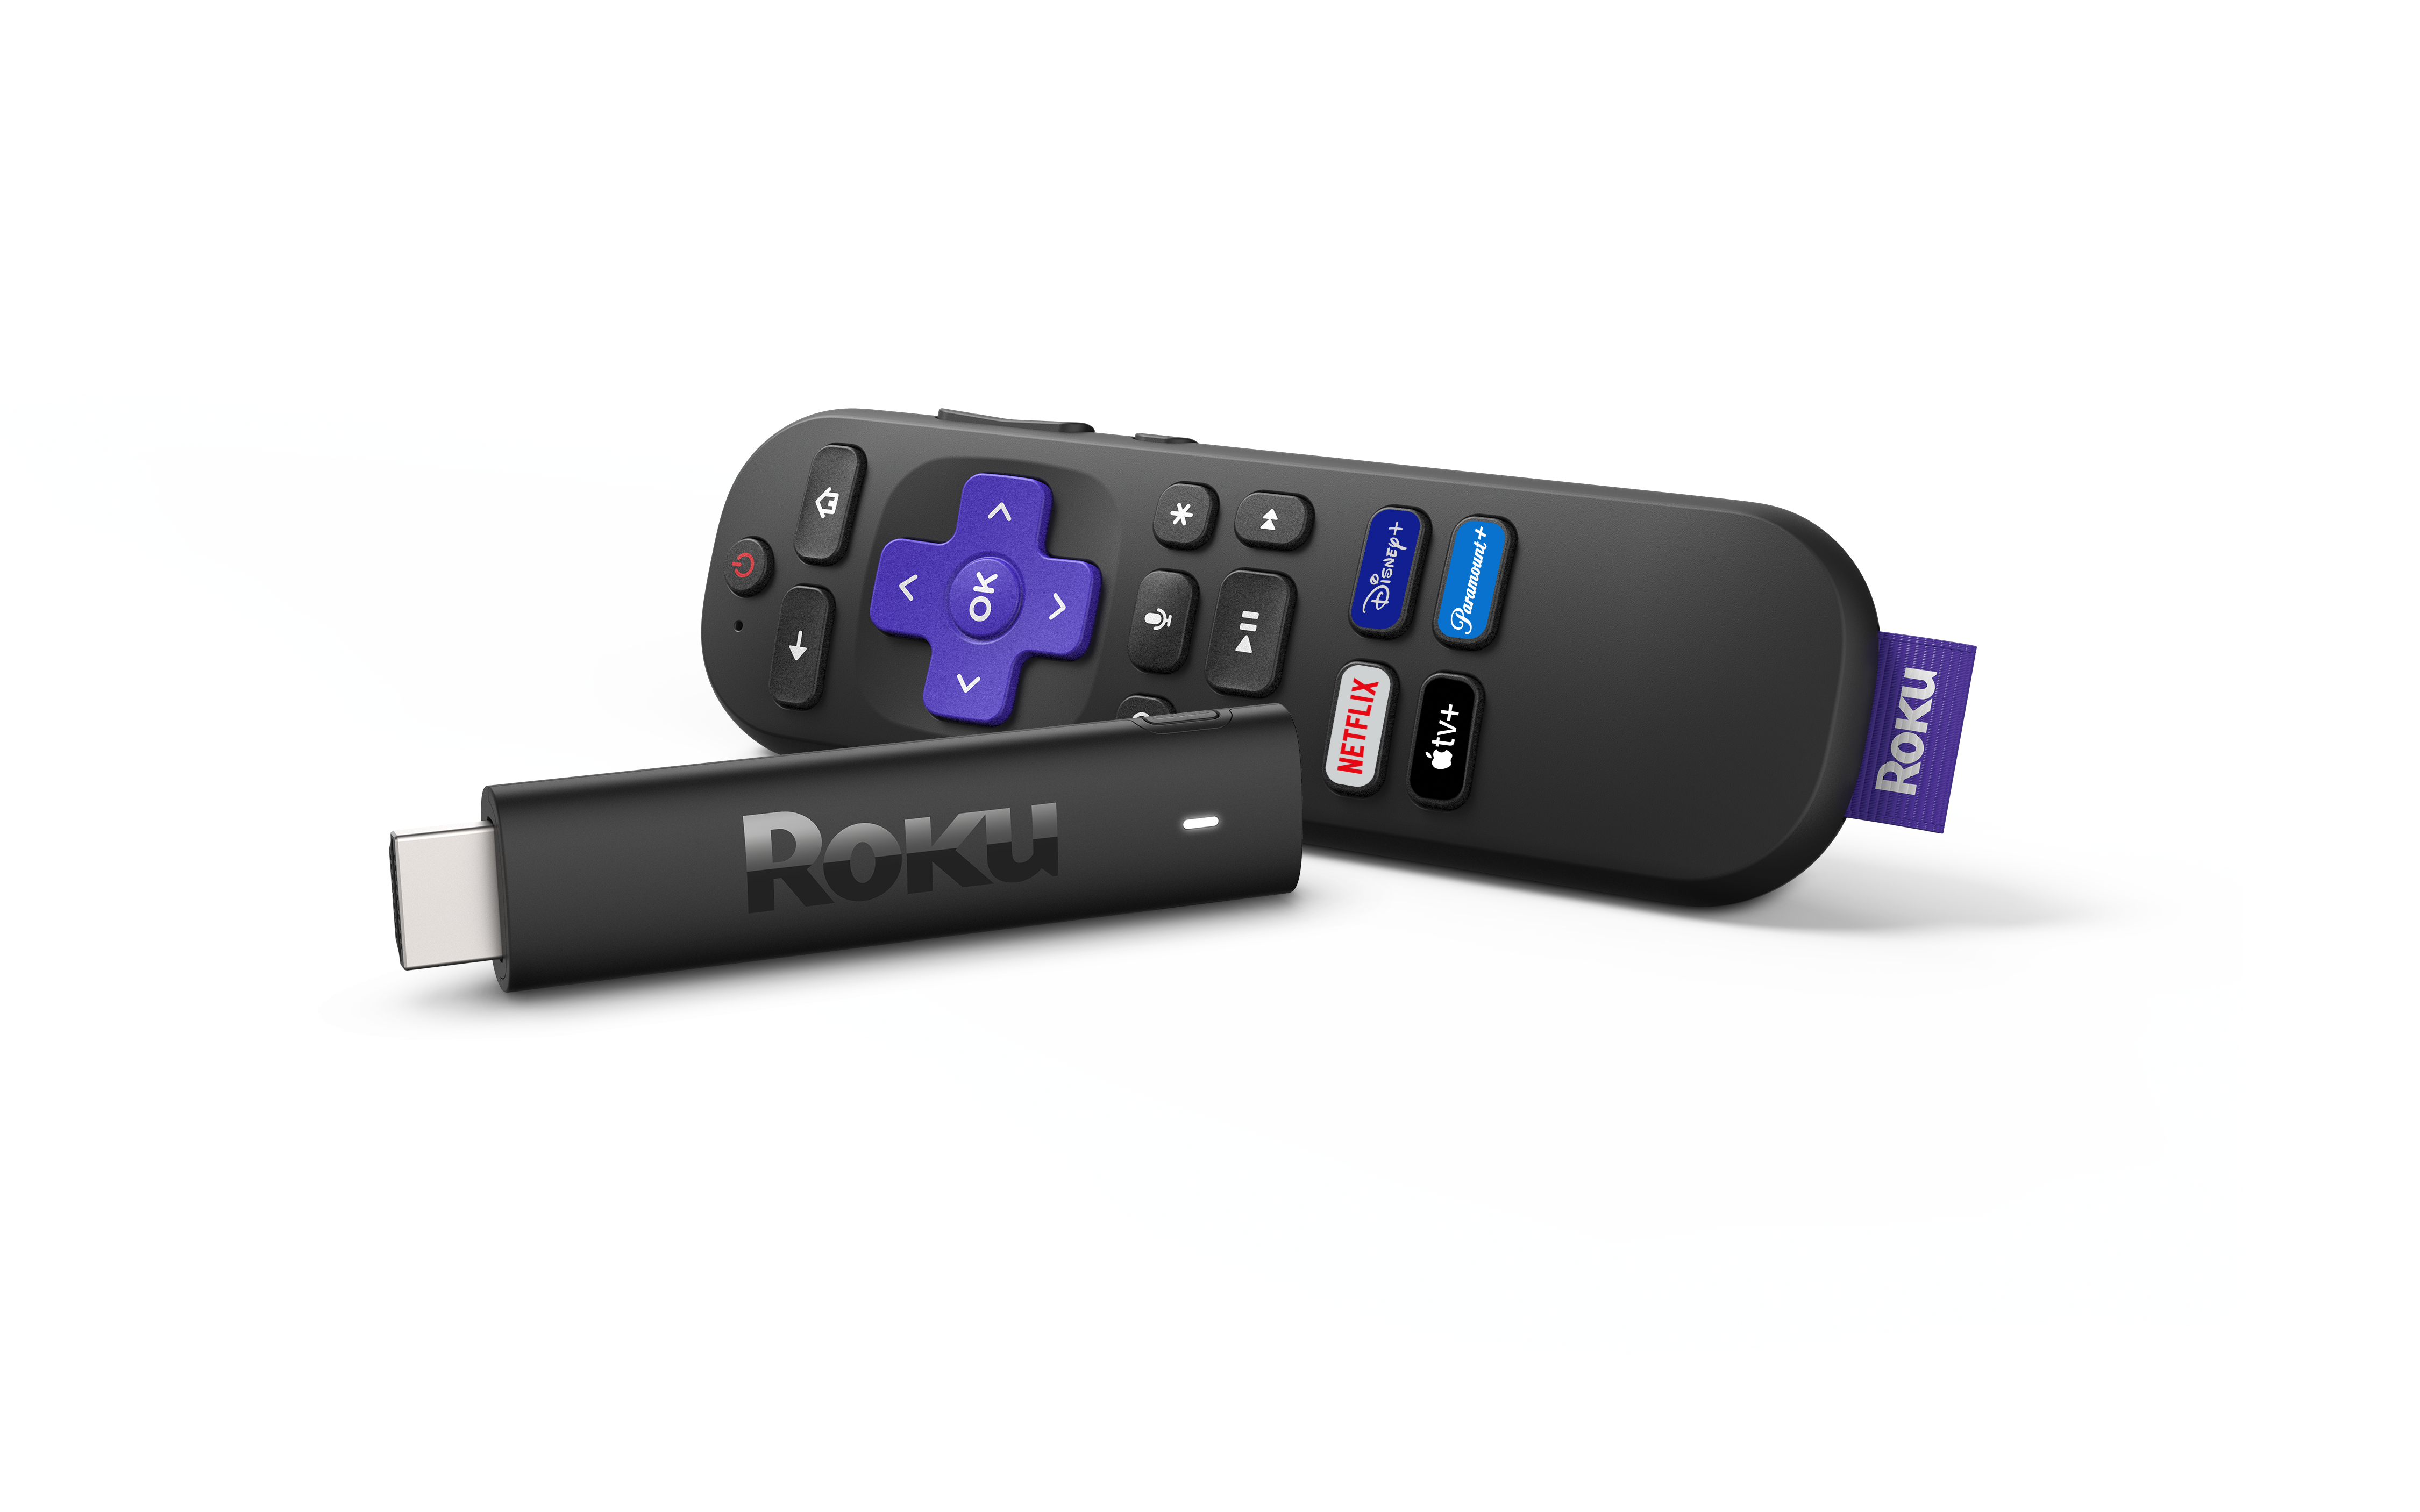
The Roku® Streaming Stick® 4K (model 3820) supports 720p HD, 1080p Full HD, 4K Ultra HD (4K) and HDR (High Dynamic Range) and ships with a Roku voice remote with TV controls. In this article, you’ll learn more about your streaming stick and how to set it up.
 Roku Streaming Stick 4K Quick Start Guide (model 3820)
Check TV compatibility
- Make sure your TV has an HDMI® port
- The Streaming Stick 4K will work with any TV that has HDMI

Note: If your TV does not support 4K or HDR, the Roku streaming player will still work, but you will not see 4K or HDR picture quality.
Step 1: Connect Roku Streaming Stick to the TV
- Plug the Roku Streaming Stick 4K into an available HDMI port on your TV
- If there is not enough space for the stick to fit, request a free HDMI extender cable from Roku
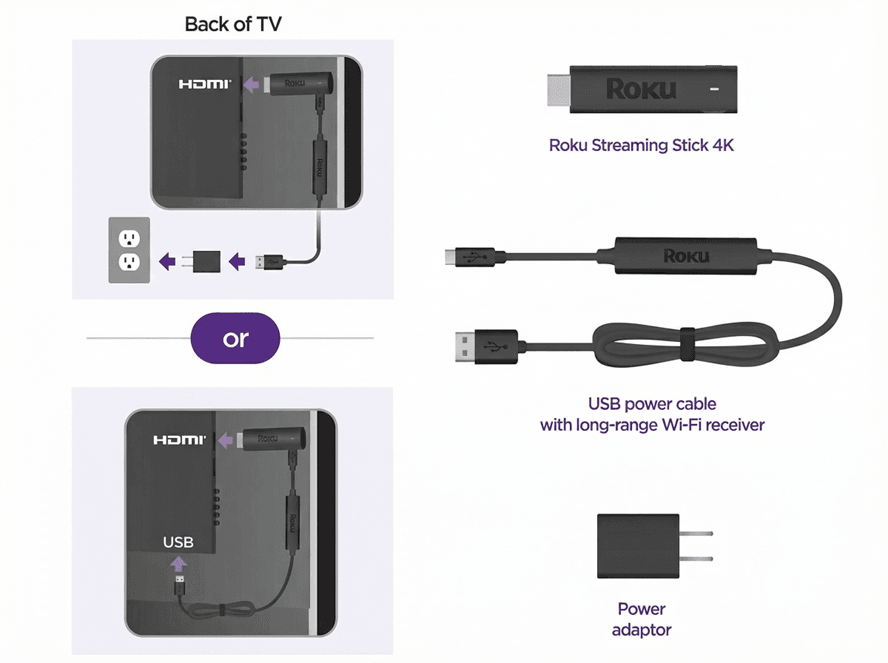
Step 2: Connect to power
- Use only the USB power cable that came with your Roku Streaming Stick 4K. The long-range Wi-Fi® receiver is built into this cable, and using another cable may prevent the device from turning on (error 022)
- Connect the USB cable to one of these options:
- Wall outlet (recommended): Use the included power adapter
- USB port on TV: This may work on some TVs, but many do not supply enough power. If you see a warning message, switch to the wall outlet
Step 3: Turn on and select input
- Power on your TV with the TV remote
- Select the HDMI input where your Roku Streaming Stick is connected
- If you do not see the Roku welcome screen, check that:
- The device is firmly plugged into HDMI
- The USB power cable is connected and the outlet is supplying power
- You have selected the correct TV input
Step 4: Set up your Roku remote
- Follow the on-screen pairing instructions.
- If the remote does not pair:
- Replace the batteries
- Restart your Roku device by unplugging it and plugging it back in
- Manually pair the remote by pressing the pairing button either on the back of the remote or under the battery cover. You can also press the Back
 and Home
 buttons for 5 seconds. Learn more about pairing.
Step 5: Connect to the Internet
- Choose your preferred language
- Select wireless and choose your home Wi-Fi network. Enter your password to connect.
- If the connection fails, double-check your Wi-Fi password, restart your router, or move the Roku closer to the router.
Step 6: Install updates
- After connecting to the Internet, your Roku device will automatically check for software updates
- Wait for the updates to finish installing
- For TVs that support 4K or HDR, make sure all connections support HDCP 2.2
- Select the Set Display Type option to allow Roku to match the best resolution for your TV
Step 7: Set up TV controls on your Roku remote (Optional)
- If you are using a Roku voice remote with TV controls, on-screen setup steps will appear.
- Follow the instructions to allow the Roku remote to control your TV’s power and volume. Certain Roku remotes released in 2017 and later include this feature.
- Some TVs may only support volume control
Final step: Activate your Roku account
- Follow the on-screen instructions to activate your Roku device
- You will be given a link code. On a separate device (phone, tablet, or computer), go to the website shown and enter the code.
- Sign in with your Roku account, or create one if you do not already have one. Learn how to link or activate your Roku account if you need help.
- Roku accounts are free. Roku does not charge activation fees.
Start streaming!
Once setup is complete, your Roku Streaming Stick 4K is ready to use.
Personalize your device by adding streaming channels, setting themes, or changing your screensaver.
Frequently asked questions
Will the Roku Streaming Stick 4K work with any TV?
Yes, as long as your TV has an HDMI port. To use 4K or HDR features, your TV must support them.
Can I power the Roku player from my TV’s USB port?
Some TVs supply enough power, but not all. If you see a warning message, plug the Roku into a wall outlet using the included adapter.
What do I do if my Roku player won’t show anything on the TV?
Check that the HDMI connection is secure, confirm you are on the correct TV input, and make sure the device is powered using the original USB cable. Learn what to do if you cannot see picture from your streaming player.
Can I control my TV with the Roku remote?
Yes, if you have a Roku voice remote with TV controls. Some TVs support both volume and power, while others may only support volume.
Last updated at 3/3/2026 2:17:36 AM
Was this article helpful?
Related articles
Need more help?
